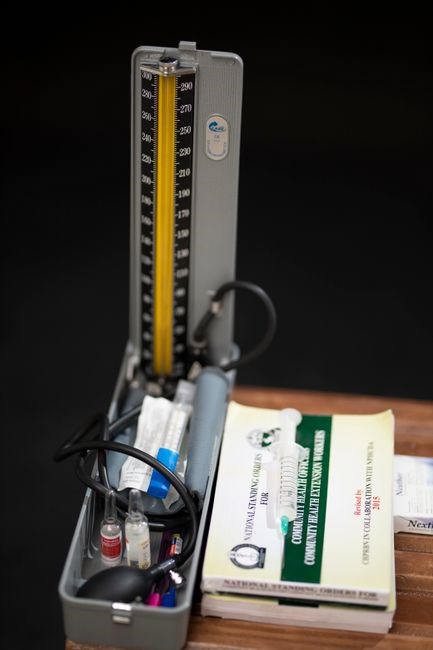
Welcome to the Life Brand Blood Pressure Monitor manual. This guide explains setup, use, and maintenance of the BM 66/U model. Follow safety instructions, calibrate properly, and contact support at 1‑800‑536‑0366 for assistance. Enjoy accurate, reliable readings. See quick start guide. For full details.!! Thank you

Model Overview
The Life Brand BM 66/U is an upper‑arm blood pressure monitor designed for home use. It features a single‑cuff system that wraps comfortably around the upper arm, a digital LCD that presents systolic, diastolic and pulse values, and an intuitive one‑button operation. The unit is powered by two AA alkaline batteries or an optional AC adapter, as indicated in the manual opening for optional power supply only. The monitor incorporates an automatic inflation mechanism, eliminating the need for manual pumping, and a deflation valve that ensures gradual pressure release for accurate readings. A built‑in memory stores up to 60 measurements for two users, while the irregular heartbeat indicator alerts the user to potential arrhythmias. The device complies with international safety standards and is calibrated at the factory to meet clinical accuracy requirements. Its compact design, lightweight housing, and clear backlit display make it suitable for bedside or portable use. The monitor also includes a cuff pressure sensor that detects residual air from previous tests, prompting the user to re‑inflate for optimal performance. Additional features include a low‑battery indicator, a memory backup function, and a detachable cuff for easy cleaning, ensuring long‑term reliability and user convenience. The monitor’s ergonomic design includes a soft‑touch silicone grip and a high‑contrast LCD readable in low‑light, plus a data export port for easy transfer to health‑tracking apps. Low‑battery alarm warns replacement is needed.
Power Supply and Battery
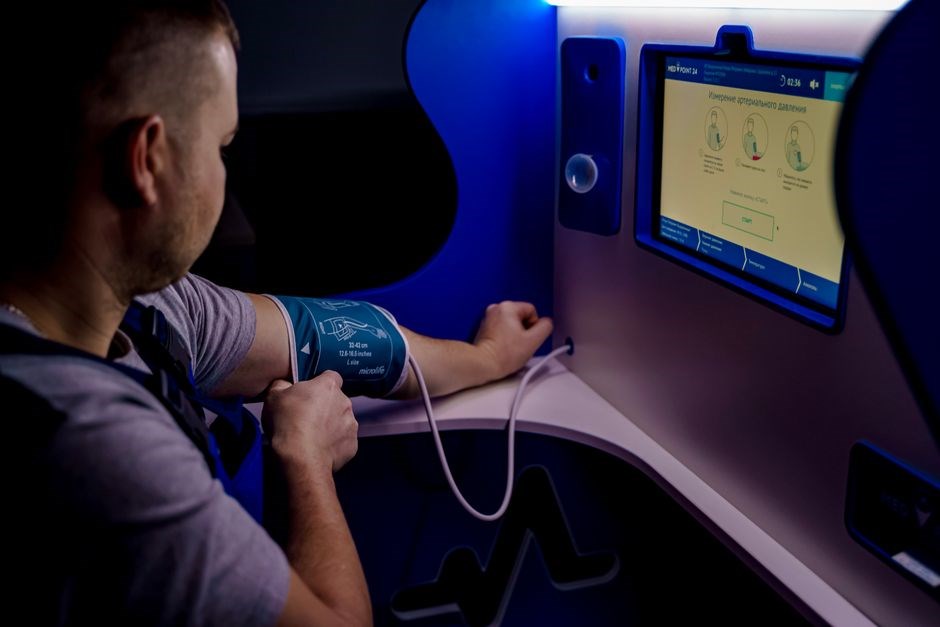
The Life Brand BM 66/U operates on two AA alkaline batteries or an optional AC adapter, as specified in the opening that is designed for an optional power supply only. When using batteries, insert them with correct polarity indicated by the plus (+) and minus (–) symbols. The monitor will display a low‑battery icon on the LCD when voltage drops below the functional threshold, prompting replacement to maintain measurement accuracy. For continuous use, connect the supplied AC adapter to the dedicated power‑input jack; the adapter provides a stable 5 V DC output, eliminating the need for battery changes. The device automatically detects the power source and switches seamlessly between AC and battery power without interrupting operation. To conserve energy, the monitor enters an auto‑off mode after five minutes of inactivity; pressing any button revives the display. The battery compartment is sealed with a screw‑tight lid to protect against moisture and accidental contact. Recommended batteries are high‑capacity alkaline cells (e.g., Duracell or Energizer) with a minimum of 1500 mAh each. Do not use rechargeable Ni‑MH cells, as they may not deliver the required voltage stability during inflation cycles. When replacing batteries, remove the old ones, dispose of them according to local regulations, and install fresh cells promptly to avoid residual charge loss. The optional AC adapter must be the original Life Brand model; using third‑party adapters can damage the internal circuitry and void the warranty. Always verify that the adapter’s voltage and polarity match the specifications printed on the device’s power label. Use recommended power source
Device Components
The Life Brand BM 66/U is composed of several key parts designed for accurate, repeatable measurements. At the core is the inflatable cuff, made from a flexible, medical‑grade polymer that conforms to the upper arm. The cuff is attached to a thin, 1‑inch diameter tube that carries air from the built‑in pump to the cuff. A pressure sensor, located within the cuff, detects the arterial pressure waveform and converts it into an electrical signal. The sensor’s signal is amplified and processed by an on‑board microcontroller, which calculates systolic, diastolic, and pulse‑rate values. The processed data is displayed on a backlit LCD screen that shows numeric values and a simple waveform graphic. The device also includes a small, recessed LED indicator that flashes during measurement and a quiet beep when the test is complete. A removable battery compartment houses two AA cells, while a discreet power‑input jack allows connection to the supplied AC adapter. The outer housing is made of durable ABS plastic, with a smooth finish to prevent snagging on clothing. The cuff’s elastic strap is adjustable via a sliding buckle, and the cuff’s inner lining is removable for cleaning. All components are assembled in a compact, ergonomic unit that weighs less than 200 g, making it easy to carry and store. The design follows medical‑device safety standards, ensuring reliable performance for home or clinical use. The monitor’s ergonomic design includes a non‑slip base, a quick‑release cuff strap, and a transparent housing that protects internal electronics. Users can easily replace the cuff or battery, and the device’s low‑power mode conserves energy during long‑term use. Thanks. Care
Setting Up the Monitor
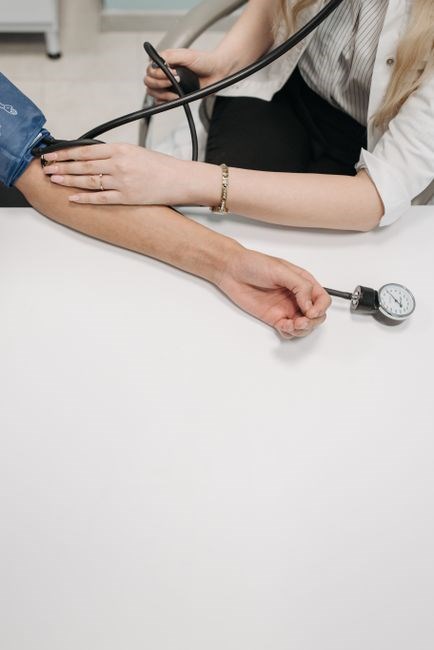
Before you begin measuring, prepare the Life Brand BM 66/U by following these steps. First, insert two fresh AA batteries into the battery compartment, aligning the positive and negative terminals. The compartment cover snaps shut and the indicator LED will glow green to confirm power. Next, connect the optional AC adapter to the power jack and plug the adapter into a grounded outlet; a steady power supply helps maintain calibration. Place the cuff on your upper arm, ensuring the cuff’s lower edge sits 2–3 cm above the elbow. Adjust the elastic strap so the cuff is snug but not tight; a proper fit is critical for accurate readings. Align the cuff’s inner side with the arm’s mid‑point, then secure the cuff with the buckle. The cuff’s sensor should rest against the skin, not over clothing. Once the cuff is positioned, press the START/STOP button. A brief beep will confirm the device is ready. The LCD will display “READY” and the unit will perform a quick self‑check. If the screen shows an error code, consult the troubleshooting section. After the self‑check completes, the monitor is ready for use. For repeated measurements, keep the cuff in a cool, dry place and replace batteries when the LED turns amber. Proper setup ensures reliable, repeatable readings. Before each use, wipe the cuff and arm band with a damp cloth, then dry thoroughly. Avoid using harsh chemicals that could damage the sensor. Store the monitor in its original packaging or a protective case when not in use. The device’s battery life can be extended by turning off the unit when not measuring; simply press the START/STOP button until the display turns off. If you plan to use the monitor for an extended period, perform a full calibration every six months by following the calibration steps in the manual. This ensures the sensor remains accurate over time. Always keep the device away from extreme temperatures, moisture, and direct sunlight. By following these setup and maintenance guidelines, you can rely on the Life Brand BM 66/U for accurate blood pressure monitoring in any setting. Remember to check the cuff size annually to maintain measurement precision. Follow these steps carefully.
Using the Start/Stop Button
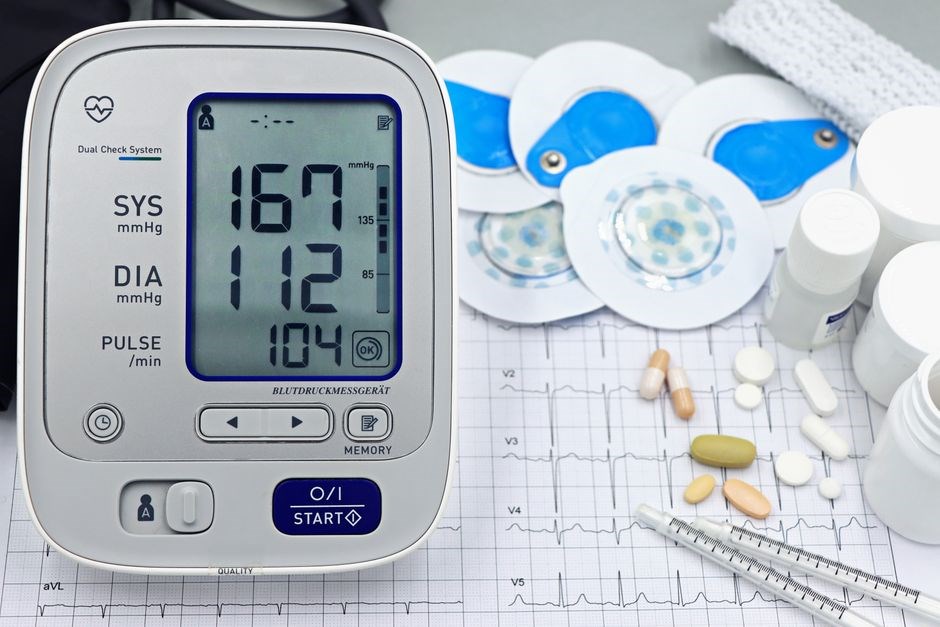
Press and hold the START/STOP button until you hear a beep. The LCD flashes for one second while the monitor runs a quick self‑diagnosis. A long tone confirms the test passed; a short tone signals an error. Release the button after the tone to begin measurement. (see manual)
Start/Stop Button Functionality
Press and hold the START/STOP button until a beep sounds. When the button is held, the monitor initiates a brief self‑diagnostic routine that lasts approximately one second. During this interval the LCD briefly lights up, displaying a quick status icon that confirms the unit is ready to take a measurement. A long tone at the end of the diagnostic indicates that all internal sensors and the cuff inflation system are functioning correctly, while a short or intermittent tone signals a fault such as residual air in the cuff, low battery, or a sensor error. If the diagnostic fails, the monitor will remain on the standby screen and the user should release the button, wait a few seconds, and repeat the press‑and‑hold sequence. Should the error persist, consult the troubleshooting section of the manual or contact customer support. After a successful diagnostic, releasing the button starts the automatic inflation cycle; the cuff inflates to the preset pressure, the device records systolic and diastolic values, and the results appear on the LCD. The START/STOP button can also be used to abort an ongoing measurement; pressing it once during inflation will immediately deflate the cuff and return the monitor to standby; This dual‑function design simplifies operation for users of all ages, ensuring quick, reliable readings with minimal steps. Additionally, the button incorporates a builtin memory reset; holding it for more than three seconds clears the last three readings, allowing fresh data capture without powering off the device.
Diagnostic Procedure
To perform a diagnostic check on the Life Brand Blood Pressure Monitor, first ensure the device is powered on and the cuff is properly positioned on the arm. Press and hold the START/STOP button until you hear a short beep; the LCD will flash a diagnostic icon for one second. A single tone confirms all internal components are functioning, while a prolonged tone indicates a fault such as residual air in the cuff, low battery, or sensor error. If a fault tone is heard, release the button, wait 5 seconds, and repeat the hold sequence. For a comprehensive diagnostic, press the START/STOP button three times in quick succession; the monitor will cycle through self‑check routines, displaying each status on the screen. The device will also test the cuff inflation pressure, the sensor accuracy, and the battery voltage. If all tests pass, the screen will show a green checkmark and a short beep. If any test fails, the monitor will display an error code (e.g., E01 for cuff pressure, E02 for sensor) and a corresponding tone. To reset the error, hold the START/STOP button for 4 seconds; the device will clear the code and return to standby. For persistent errors, consult the troubleshooting section or contact customer support. The diagnostic procedure is designed to be quick, requiring less than 30 seconds, and helps ensure reliable readings. The monitor also records the last three readings and stores them in memory, allowing you to review trends over time. If the device displays a red error icon after the diagnostic, it indicates a hardware malfunction that requires service. In such cases, please do not attempt to disassemble the unit; instead, reach out to authorized service centers for repair or replacement. By following this diagnostic procedure regularly, users can maintain optimal performance and quickly identify any issues that may affect measurement accuracy. Additionally, the diagnostic routine checks the integrity of the cuff’s inflation valve, ensuring no leaks that could compromise measurement precision. This comprehensive self‑check is essential for maintaining the device’s reliability over extended use.
Reading the LCD Display
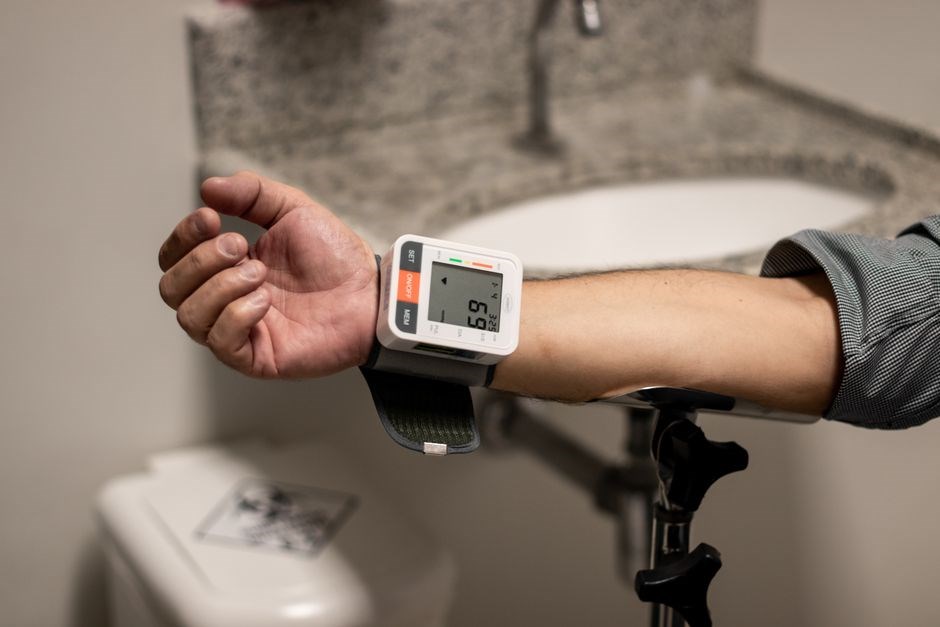
After a measurement, the Life Brand Blood Pressure Monitor shows systolic, diastolic, and pulse values on the LCD in mmHg and bpm. The systolic value appears first, followed by diastolic and pulse. A green checkmark indicates a valid reading, while a red exclamation mark signals a cuff or sensor issue. If an error occurs, an error code (e.g., E01, E02) appears with a tone; cross‑reference the code in the troubleshooting section. The screen also displays battery status with icons: full or low. During diagnostic mode, the LCD flashes a diagnostic icon for one second and emits a short beep to confirm the test. The backlight turns on automatically for visibility in low light. Users can view the last three stored readings by pressing the MENU button, which scrolls through the history list. The display refreshes every 2 seconds to prevent flicker. Keep the cuff snug but not tight, and avoid arm movement during measurement. If the screen shows “No Data,” reposition the cuff and retry. The LCD is designed for quick interpretation, with clear symbols and concise text, making it easy to read results at a glance. The monitor can store up to 50 readings, and the user can clear the history by selecting the clear option in the menu. Firmware updates are available on the manufacturer’s website to improve accuracy.

Calibration and Maintenance
Before first use, run the built‑in diagnostic by pressing and holding START/STOP until a beep sounds. The LCD flashes, confirming a quick calibration. Replace batteries annually, keep the cuff clean, store the unit in a dry place and avoid exposing it to extreme temperatures.
Calibration Steps
Begin by ensuring the monitor is powered and the cuff is properly positioned on a relaxed arm. Insert fresh batteries or connect the AC adapter, then press the START/STOP button. Hold it until a short beep occurs, indicating the device is entering calibration mode. The LCD will flash for one second, displaying “CAL” as the quick diagnostic runs. A long tone confirms the system has completed the internal check. If the monitor emits a double beep or remains silent, remove the cuff, check for residual air, and repeat the process. Once the calibration cycle finishes, the display will return to the main screen. For optimal accuracy, perform this calibration routine monthly or whenever the cuff is replaced. Store the monitor in a dry environment when not in use. If the device fails to calibrate after three attempts, contact customer support at 1‑800‑536‑0366 for further assistance. Maintaining these steps ensures reliable readings and extends the monitor’s lifespan.
During calibration, the cuff should be snug but not tight; a proper fit prevents over‑reading. If you notice a sudden spike in systolic or diastolic values, re‑calibrate and verify cuff placement. Document each calibration date in a log sheet for future reference. If you travel, carry a spare cuff and a cleaning kit. After each use, wipe the cuff with a damp cloth and allow it to air‑dry before re‑storing. This routine helps prevent bacterial growth and preserves cuff elasticity. Use daily Regular calibration and maintenance not only comply with warranty terms but also guarantee that your health data remains trustworthy over time.

Warranty and Return Policy
Life Brand BM 66/U is warranted against material defects for one year, excluding cuff, tube, batteries, AC adapter, accessories. Returns need packaging and proof of purchase. Call 1‑800‑536‑0366 or email support@lifebrand.com Warranty excludes misuse, water damage, and repairs
Warranty Coverage
The Life Brand BM 66/U blood pressure monitor is covered by a limited warranty that guarantees the unit is free from defects in materials and workmanship for a period of twelve (12) months from the date of original purchase, provided the device is used in accordance with the instructions contained in this manual.
Warranty coverage applies only to the monitor itself. The following items are expressly excluded from warranty protection: the inflatable cuff, the connecting tube, batteries (including rechargeable or disposable types), the AC power adapter, any optional accessories, and any components that have been altered, repaired, or serviced by unauthorized personnel.
The warranty does not cover damage resulting from:
- Improper use, such as applying excessive force, dropping, or exposing the monitor to liquids.
- Use of non‑approved power sources or batteries.
- Failure to follow the calibration and maintenance procedures outlined in the manual.
- Accidental damage, neglect, or normal wear and tear.
If a defect is confirmed, Life Brand will, at its discretion, either repair the unit, replace it with a new or refurbished model of equivalent specifications, or issue a refund of the purchase price. All repaired or replaced units will be covered by the remainder of the original warranty period.
For additional details, refer to the official documentation or contact support. This statement outlines coverage, exclusions, claim steps, and service options for your reference. Call now!!

Customer Support Contact
For assistance with your Life Brand blood pressure monitor, please use the following contact options. Our dedicated support team is available Monday through Friday, 8:00 a.m. to 8:00 p.m. (Pacific Time). If you prefer phone support, dial 1‑800‑536‑0366. For email inquiries, send a detailed description of your issue, including model number, serial number, and purchase date, to infobeurer@lifebrand.com. If you need to submit a warranty claim, please visit our online portal at https://www.lifebrand.com/warranty and follow the instructions to complete the claim form. For expedited service, you may also use our live chat feature available on the website during business hours. All support requests will be acknowledged within 24 hours, and a technician will contact you to resolve the issue. If you are located outside the United States, please call +1‑800‑536‑0366 and select the international option, or email international@lifebrand.com. Our support team is also available via email for detailed queries. We will keep you informed throughout the repair process. Please ensure your device is powered off before sending it in. We appreciate your patience and thank you for choosing Life Brand. Your satisfaction is our priority, and we strive for excellence. For any additional assistance, do not hesitate to reach out. We value your feedback and continuously improve our products and services. Thank you for trusting Life Brand with your health needs. We are committed to providing reliable support throughout the life of your monitor. We encourage you to regularly check for firmware updates and follow the manufacturer’s guidelines to maintain optimal performance. If you experience any issues, please contact us promptly for swift assistance.
Unboxing and Initial Inspection
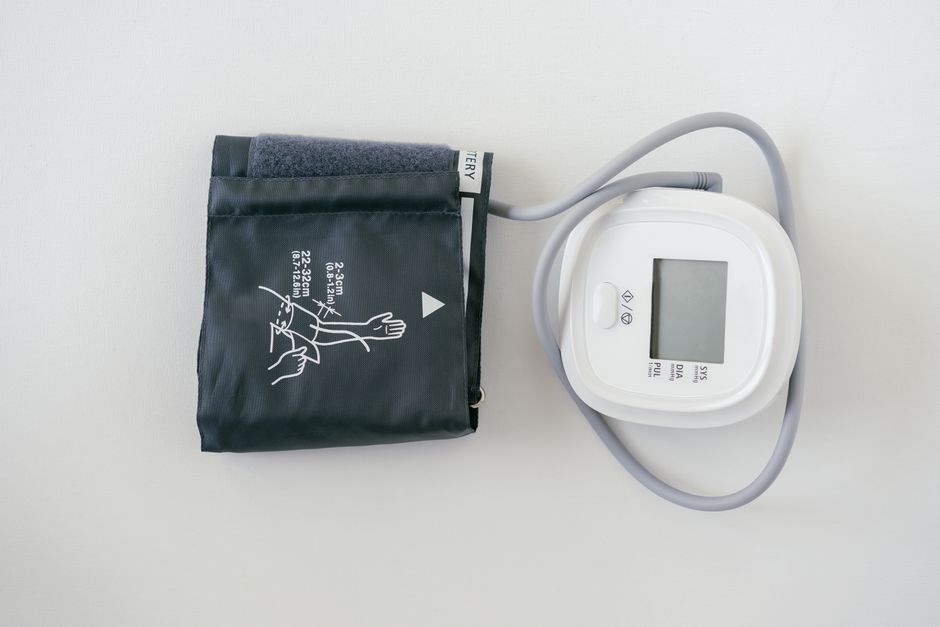
Carefully remove the Life Brand blood pressure monitor from its box. The package contains the monitor, cuff, power adapter, and a guide. Inspect the outer carton for dents or tears; a damaged seal may indicate mishandling during shipping. Open the lid and locate the monitor, which sits in protective foam. Verify that the cuff matches your arm size and that its elastic band is not stretched. Check the power adapter for correct voltage labeling. Place the monitor on a flat surface. Ensure the cuff is free of wrinkles and the sensor area is clean. Power on the unit; the LCD should display a welcome message. If the screen stays blank, confirm the battery compartment is sealed and the battery is installed properly. The guide lists initial calibration steps and safety warnings. Keep the manual in a safe place for future reference. This inspection confirms all components are present and functional before setup. If any part is missing or damaged, contact customer support for replacement. Proper handling during unboxing preserves device integrity and ensures accurate measurements from the first use. Keep the guide handy for troubleshooting and calibration reminders. This thorough unboxing process sets the foundation for reliable performance and extends the monitor lifespan. Before first use, verify that the cuff’s pressure gauge reads zero when the cuff is fully deflated. If the gauge does not read zero, contact support. Thanks After verifying the cuff’s gauge, it is advisable to perform a quick calibration test by pressing the start button and observing the displayed values. If the readings are within the expected range, the monitor is ready for daily use. Store the device in a cool, dry place when not in use to preserve battery life.